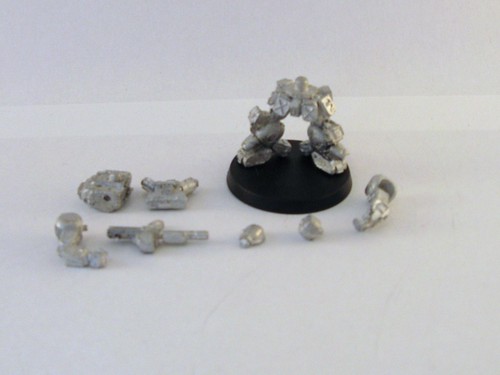
Having spent the last year mostly modelling and painting warmaster stuff, and unsure of how to paint two full armies, I decided to do something I hadn't done in a very long time - a test model. I cracked open the jager paratrooper blister and examined the contents. I've included a picture below of the parts for a jager paratrooper. Nine metal pieces for a model that stands at 30mm tall without the base. I used to put together 5th edition warhammer multi-part metal kits. I've assembled first edition B5Wars ships. I've assembled Krootox. 9 metal parts on an infantry trooper doesn't seem too tough.
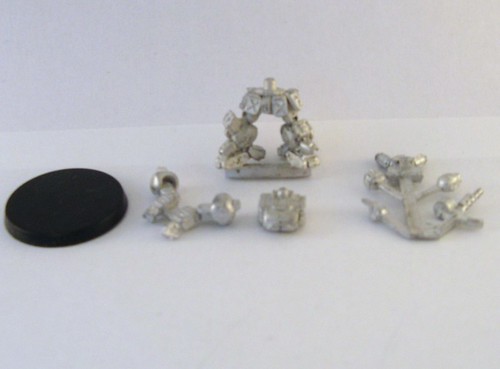
It turned out not to be. Cleaning the flash off took about five minutes, though I recommend using a knife and file and carefully checking each piece. I drilled 6 holes for a total of four pins (engine block to torso, paratrooper rifle to gun hand, each foot to the base) and that gives a pretty solid model. As you can see in the component picture I substituted a 30mm round base for the hex base. I did this for aesthetic reasons and as I may not be playing using the heavy gear rules all the time. There was a slight miscast on the clip on the paratrooper rifle which I filled in using green stuff and a damp knife to smooth. This left me with two pieces, the vibro bayonet and the spare grenade magazine, that didn't fit anywhere obvious.
Carefully examining the concept art on the blister told me that what I thought was a bayonet was actually a knife in a wrist attachment. A small lozenge of green stuff and a drop of super glue firmly secured it. Looking at the spare magazine it may in fact be a drop fuel tank. From the concept art all I can tell is that it doesn't go on the front of the model. I'll leave it off and it can go in an ammo/fuel pile objective marker at some point.
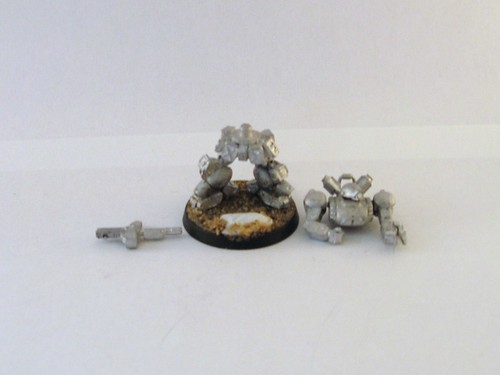
I then assembled the model into three parts for painting, legs and base, body, engine, arms and head, and the paratrooper rifle. This allows easy access to the detailed areas around the waist of the model and the chest, which would be obstructed if the model were assembled in one piece before painting.
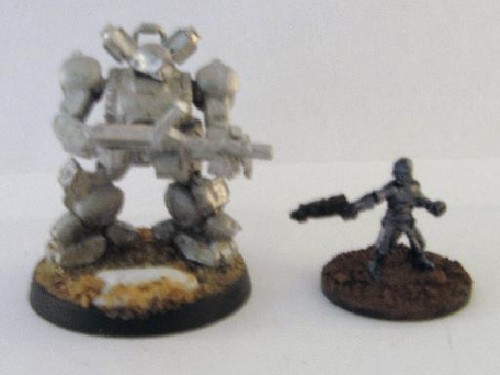
I also took a couple of shots to show the scale of the Heavy Gear minis with other manufacturers. The first picture is with a Warhammer Battle for Skull Pass dwarf, and the second is with a Rebel minis 15mm Scourge model, a human sized robot.

The model is now waiting for the basing material to dry (I stick the sand down, wait for it to dry, and then apply a sealing layer of thinned down PVA glue). Tomorrow I will undercoat it and then start painting.
Edit: I've found out the little tank is actually a parachute, and goes between the V-engine turbines by the rear grab bar. A little superglue and green stuff secures this to the engine block, though when I assemble the second trooper I may pin it.
No comments:
Post a Comment